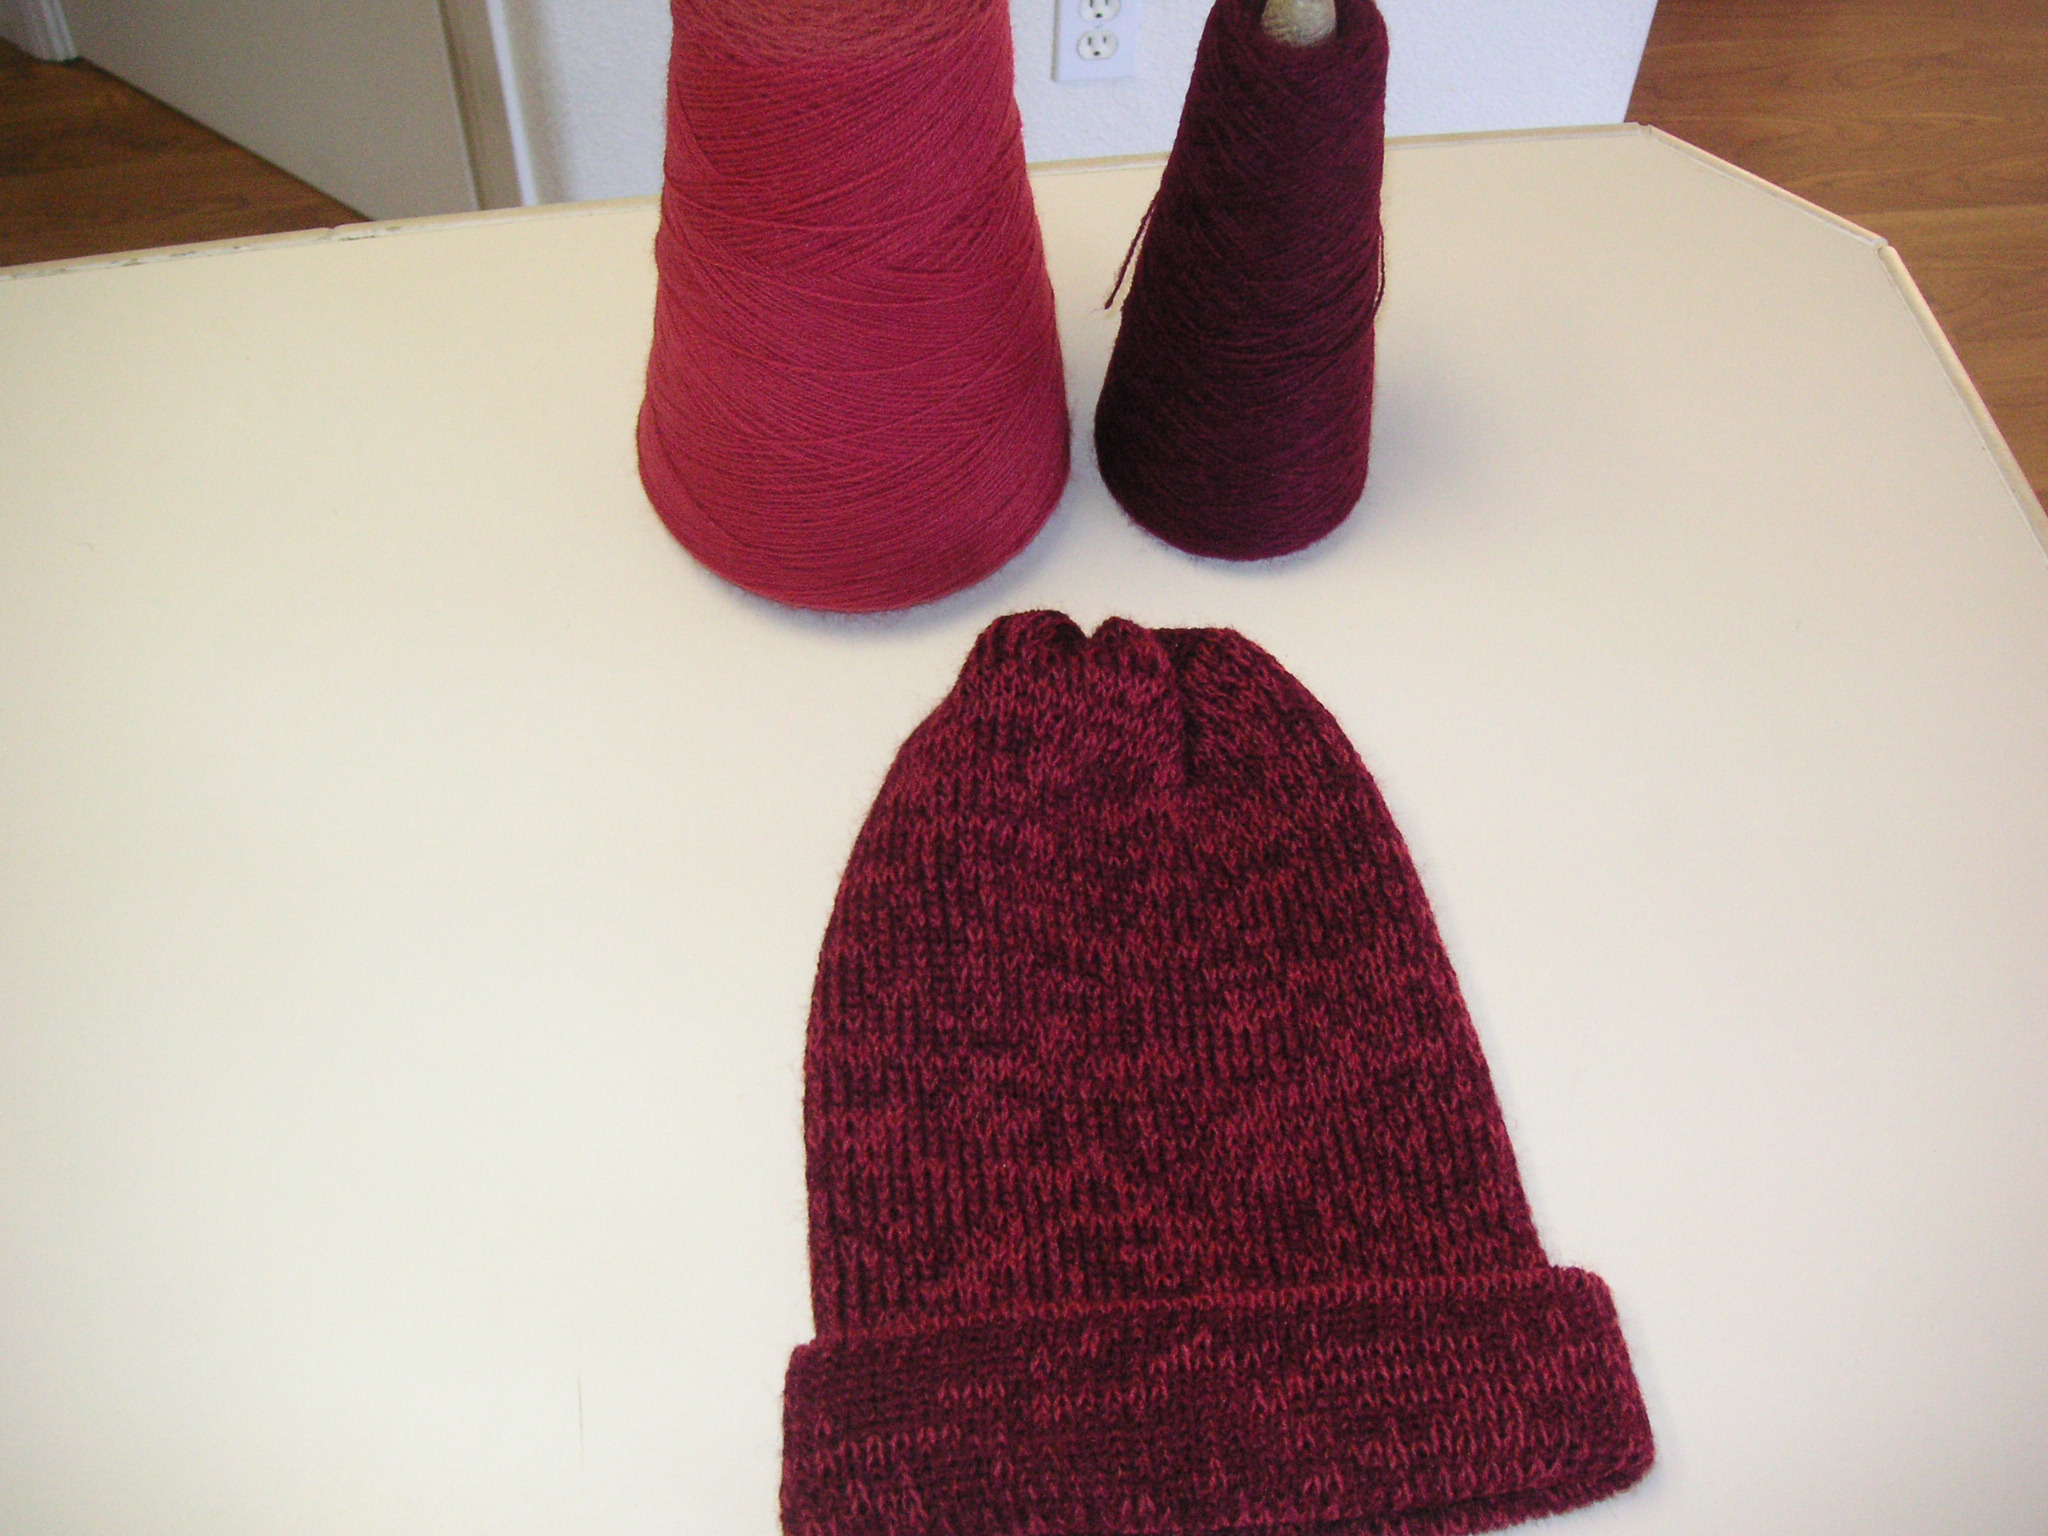
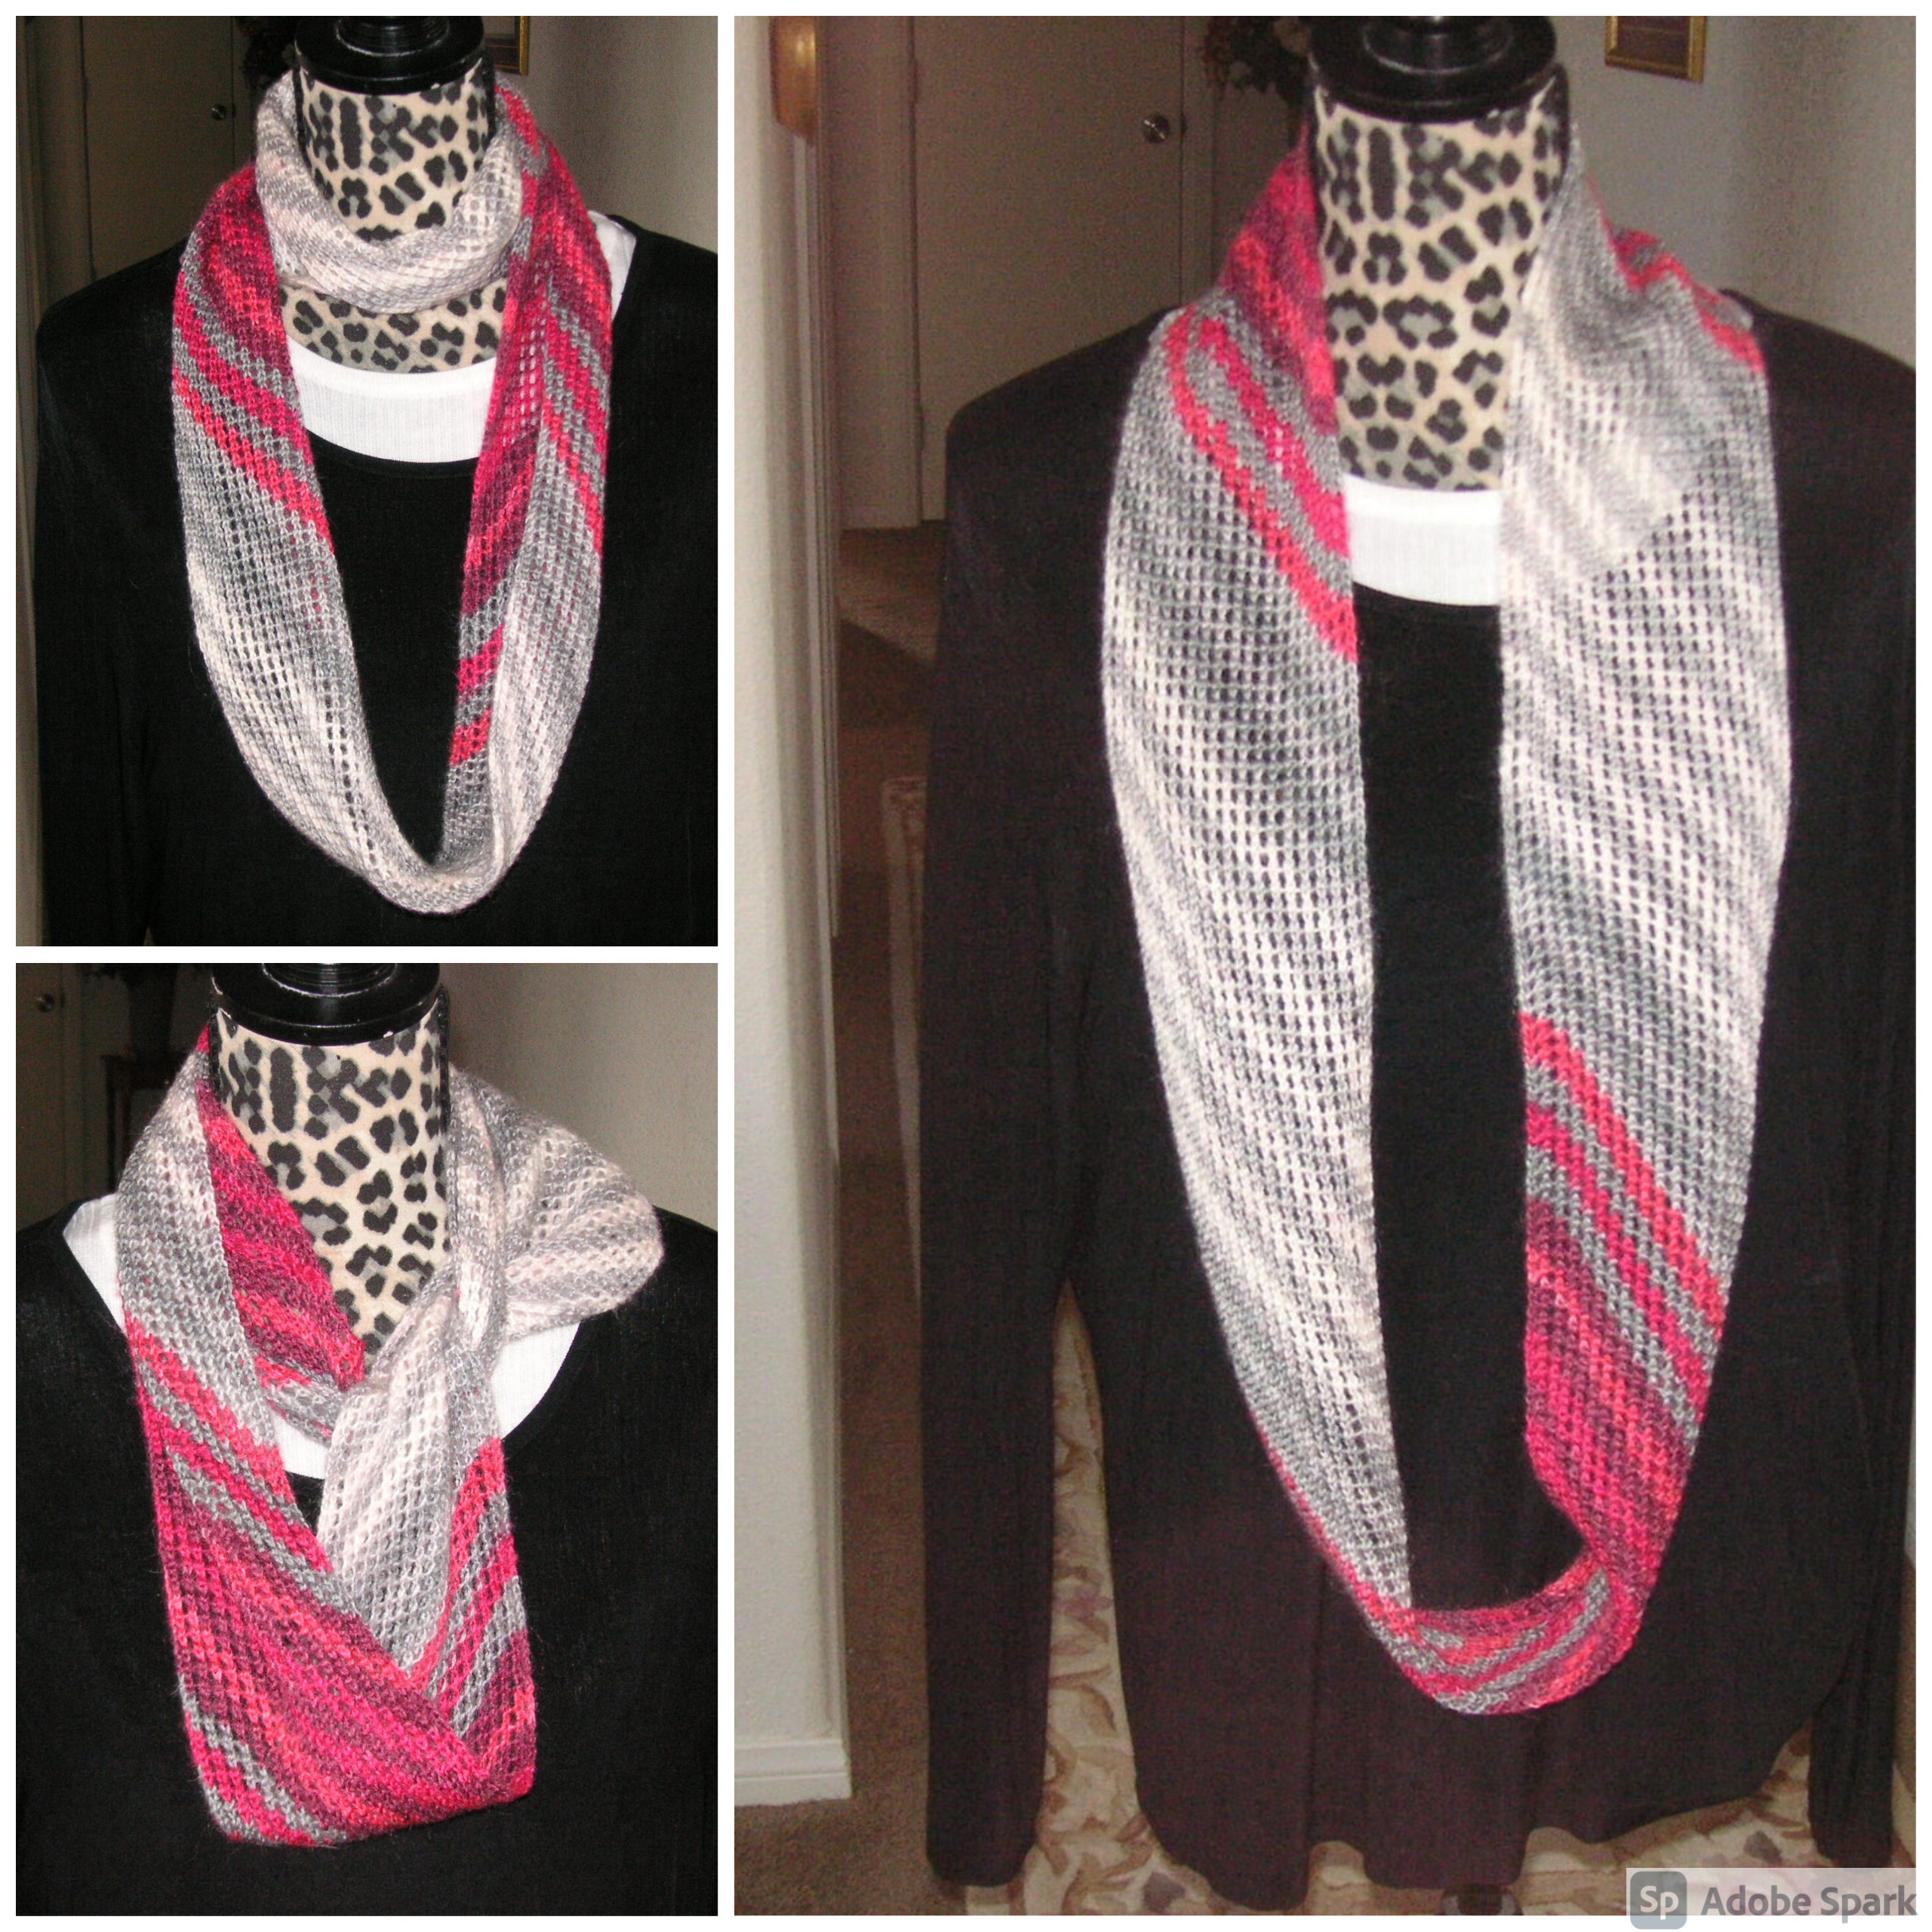
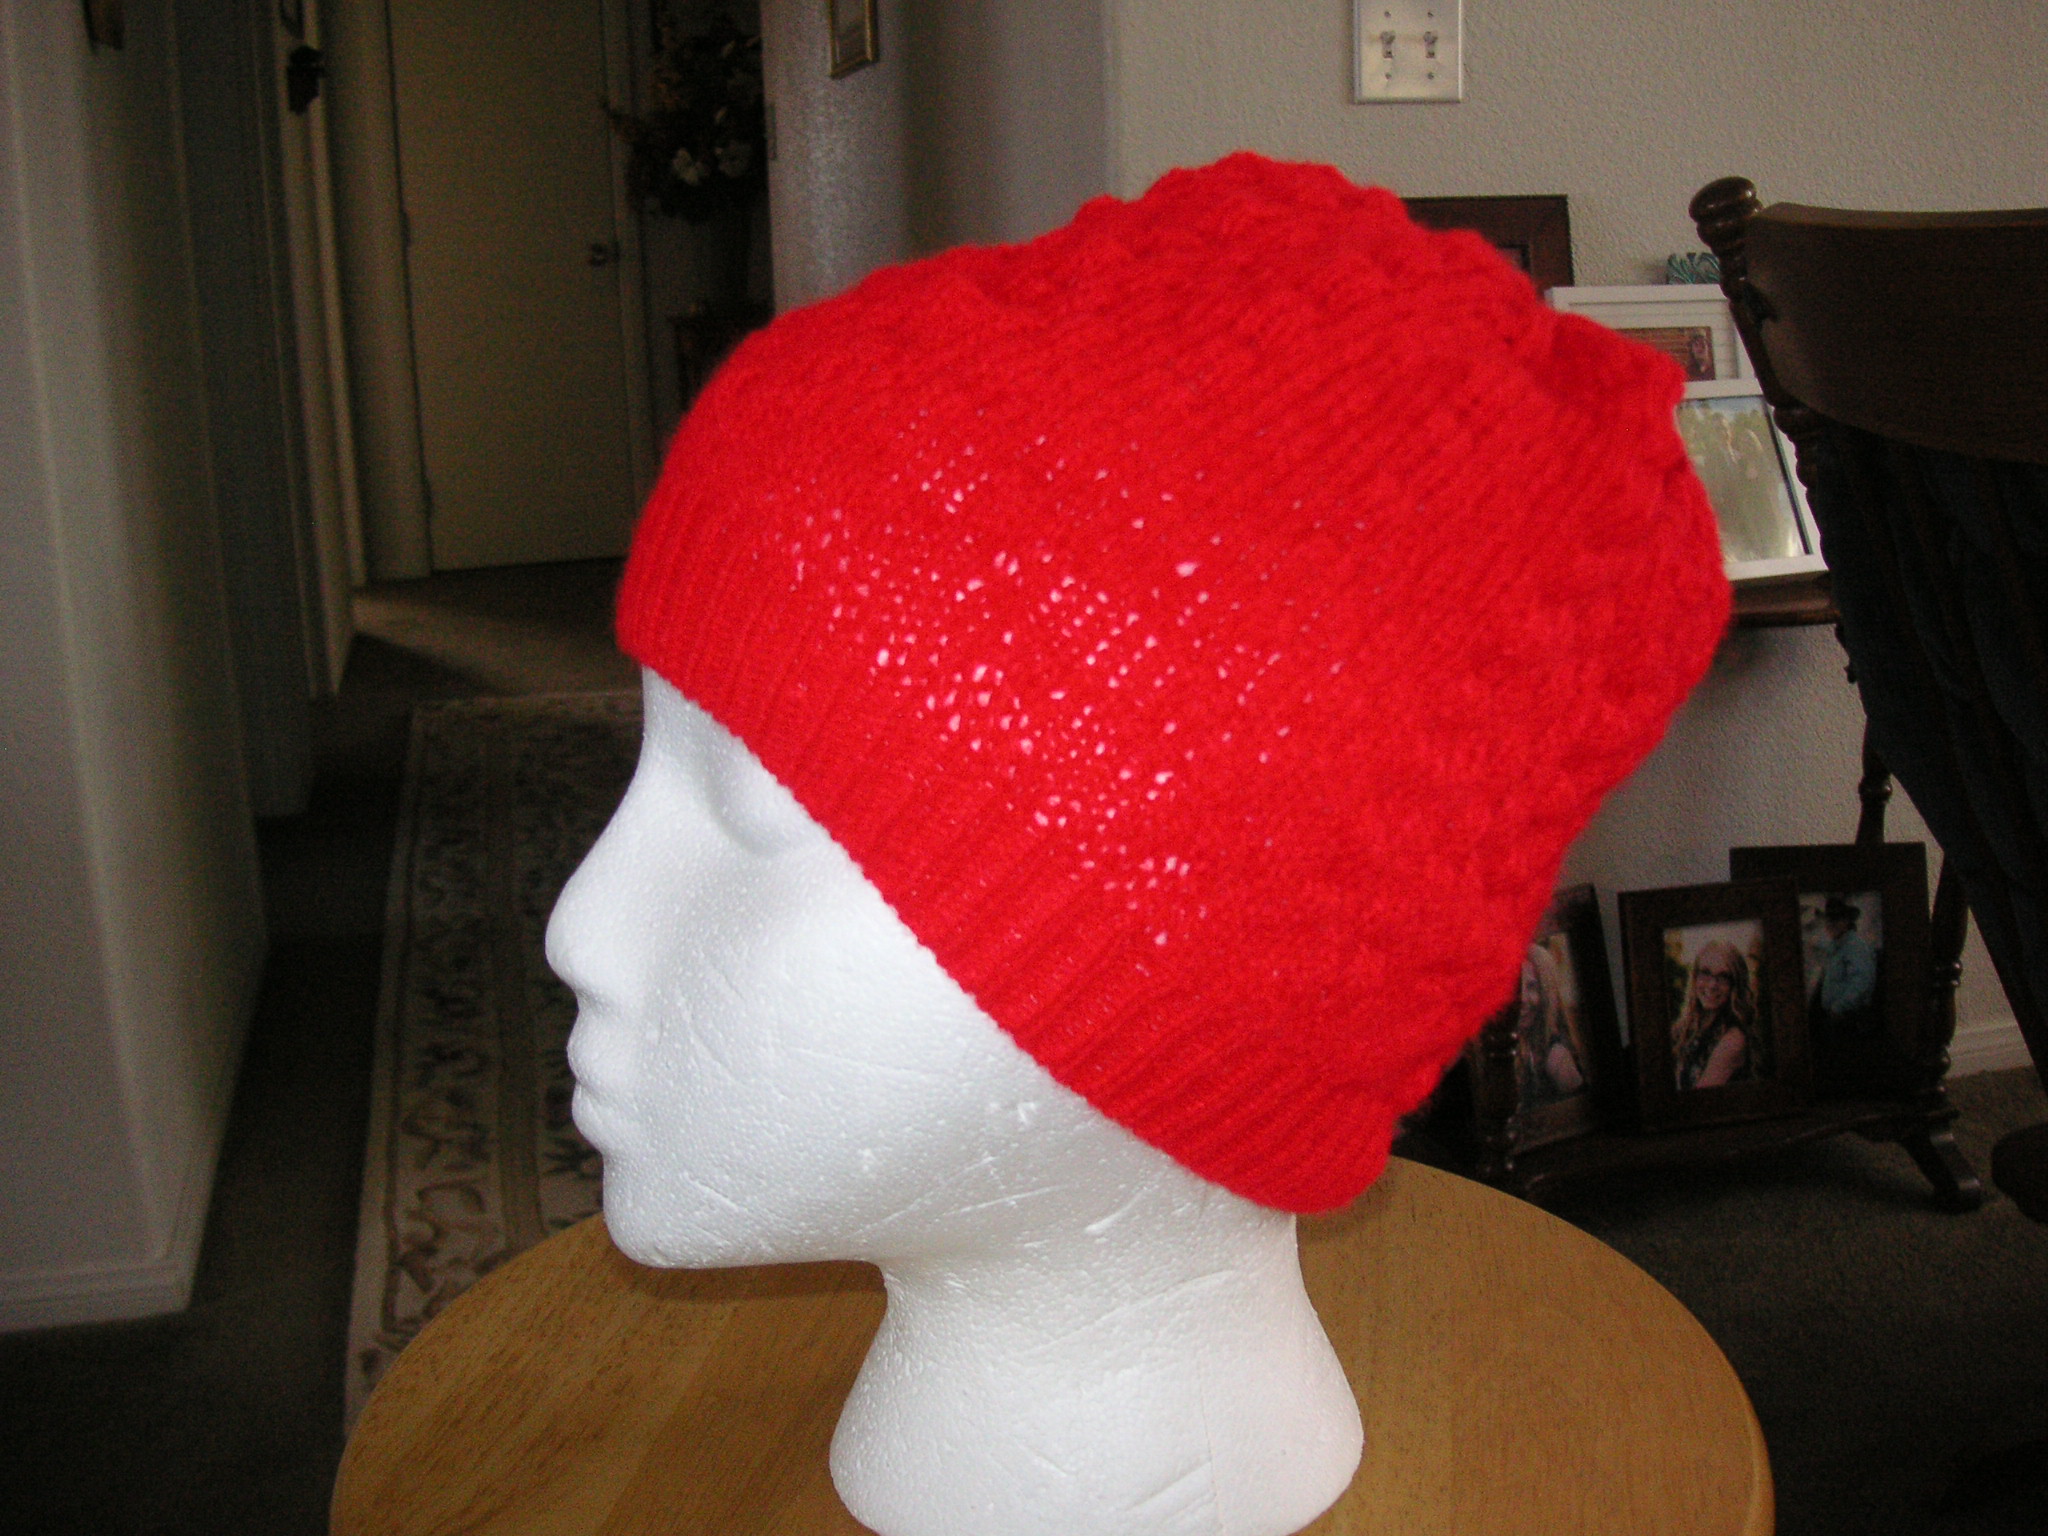
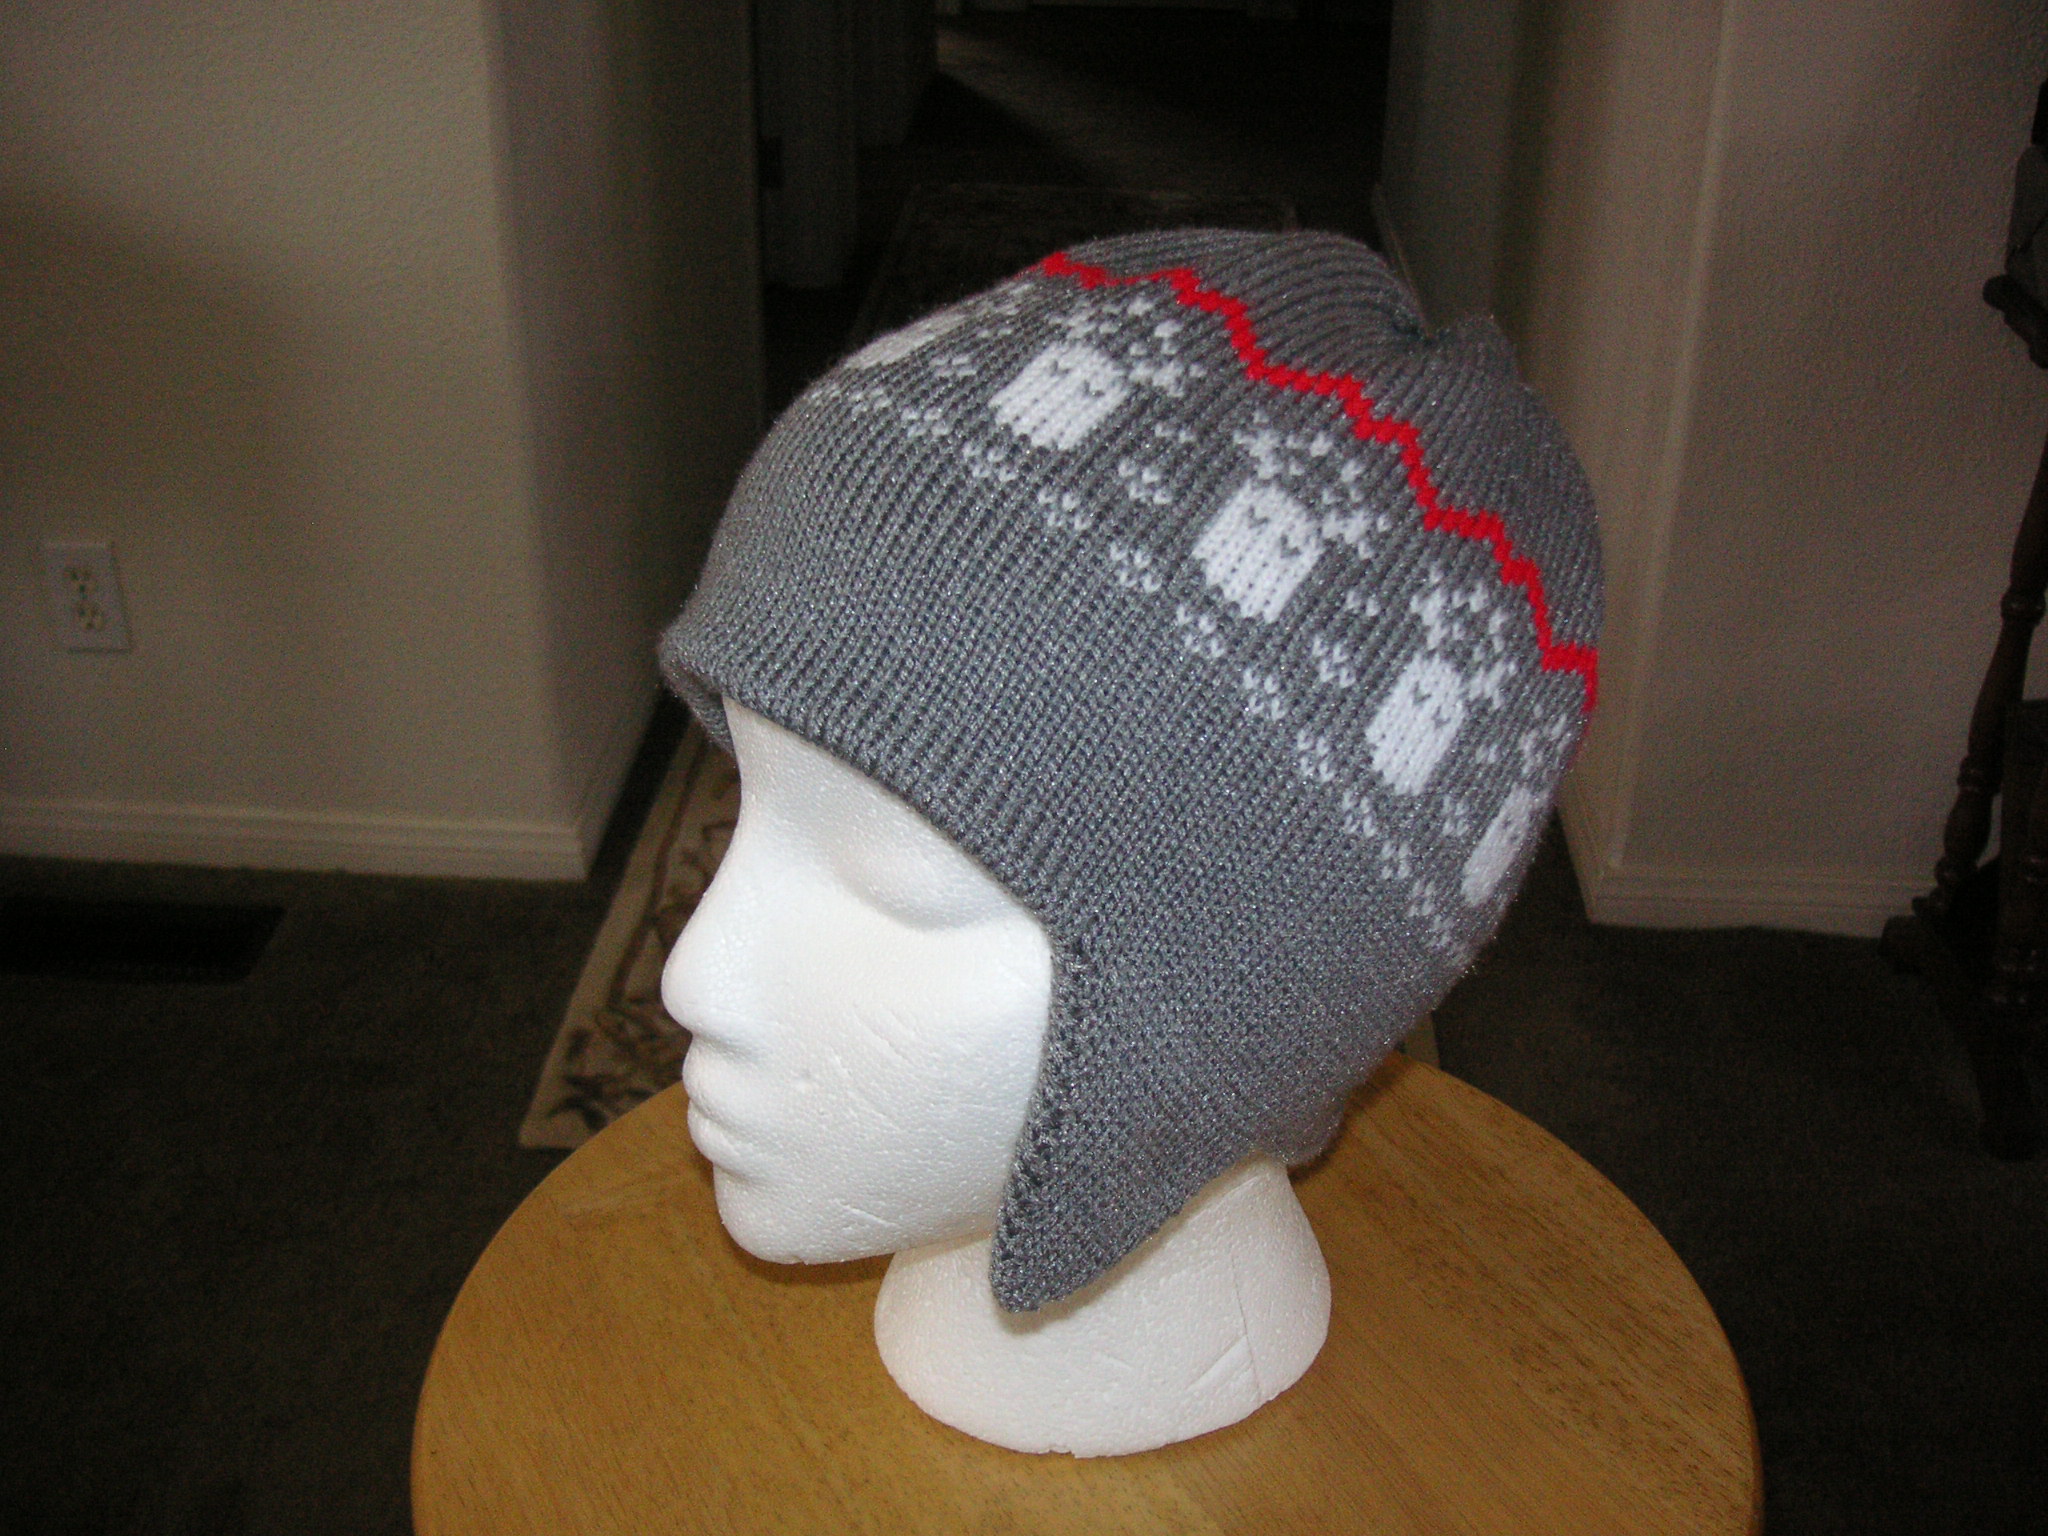
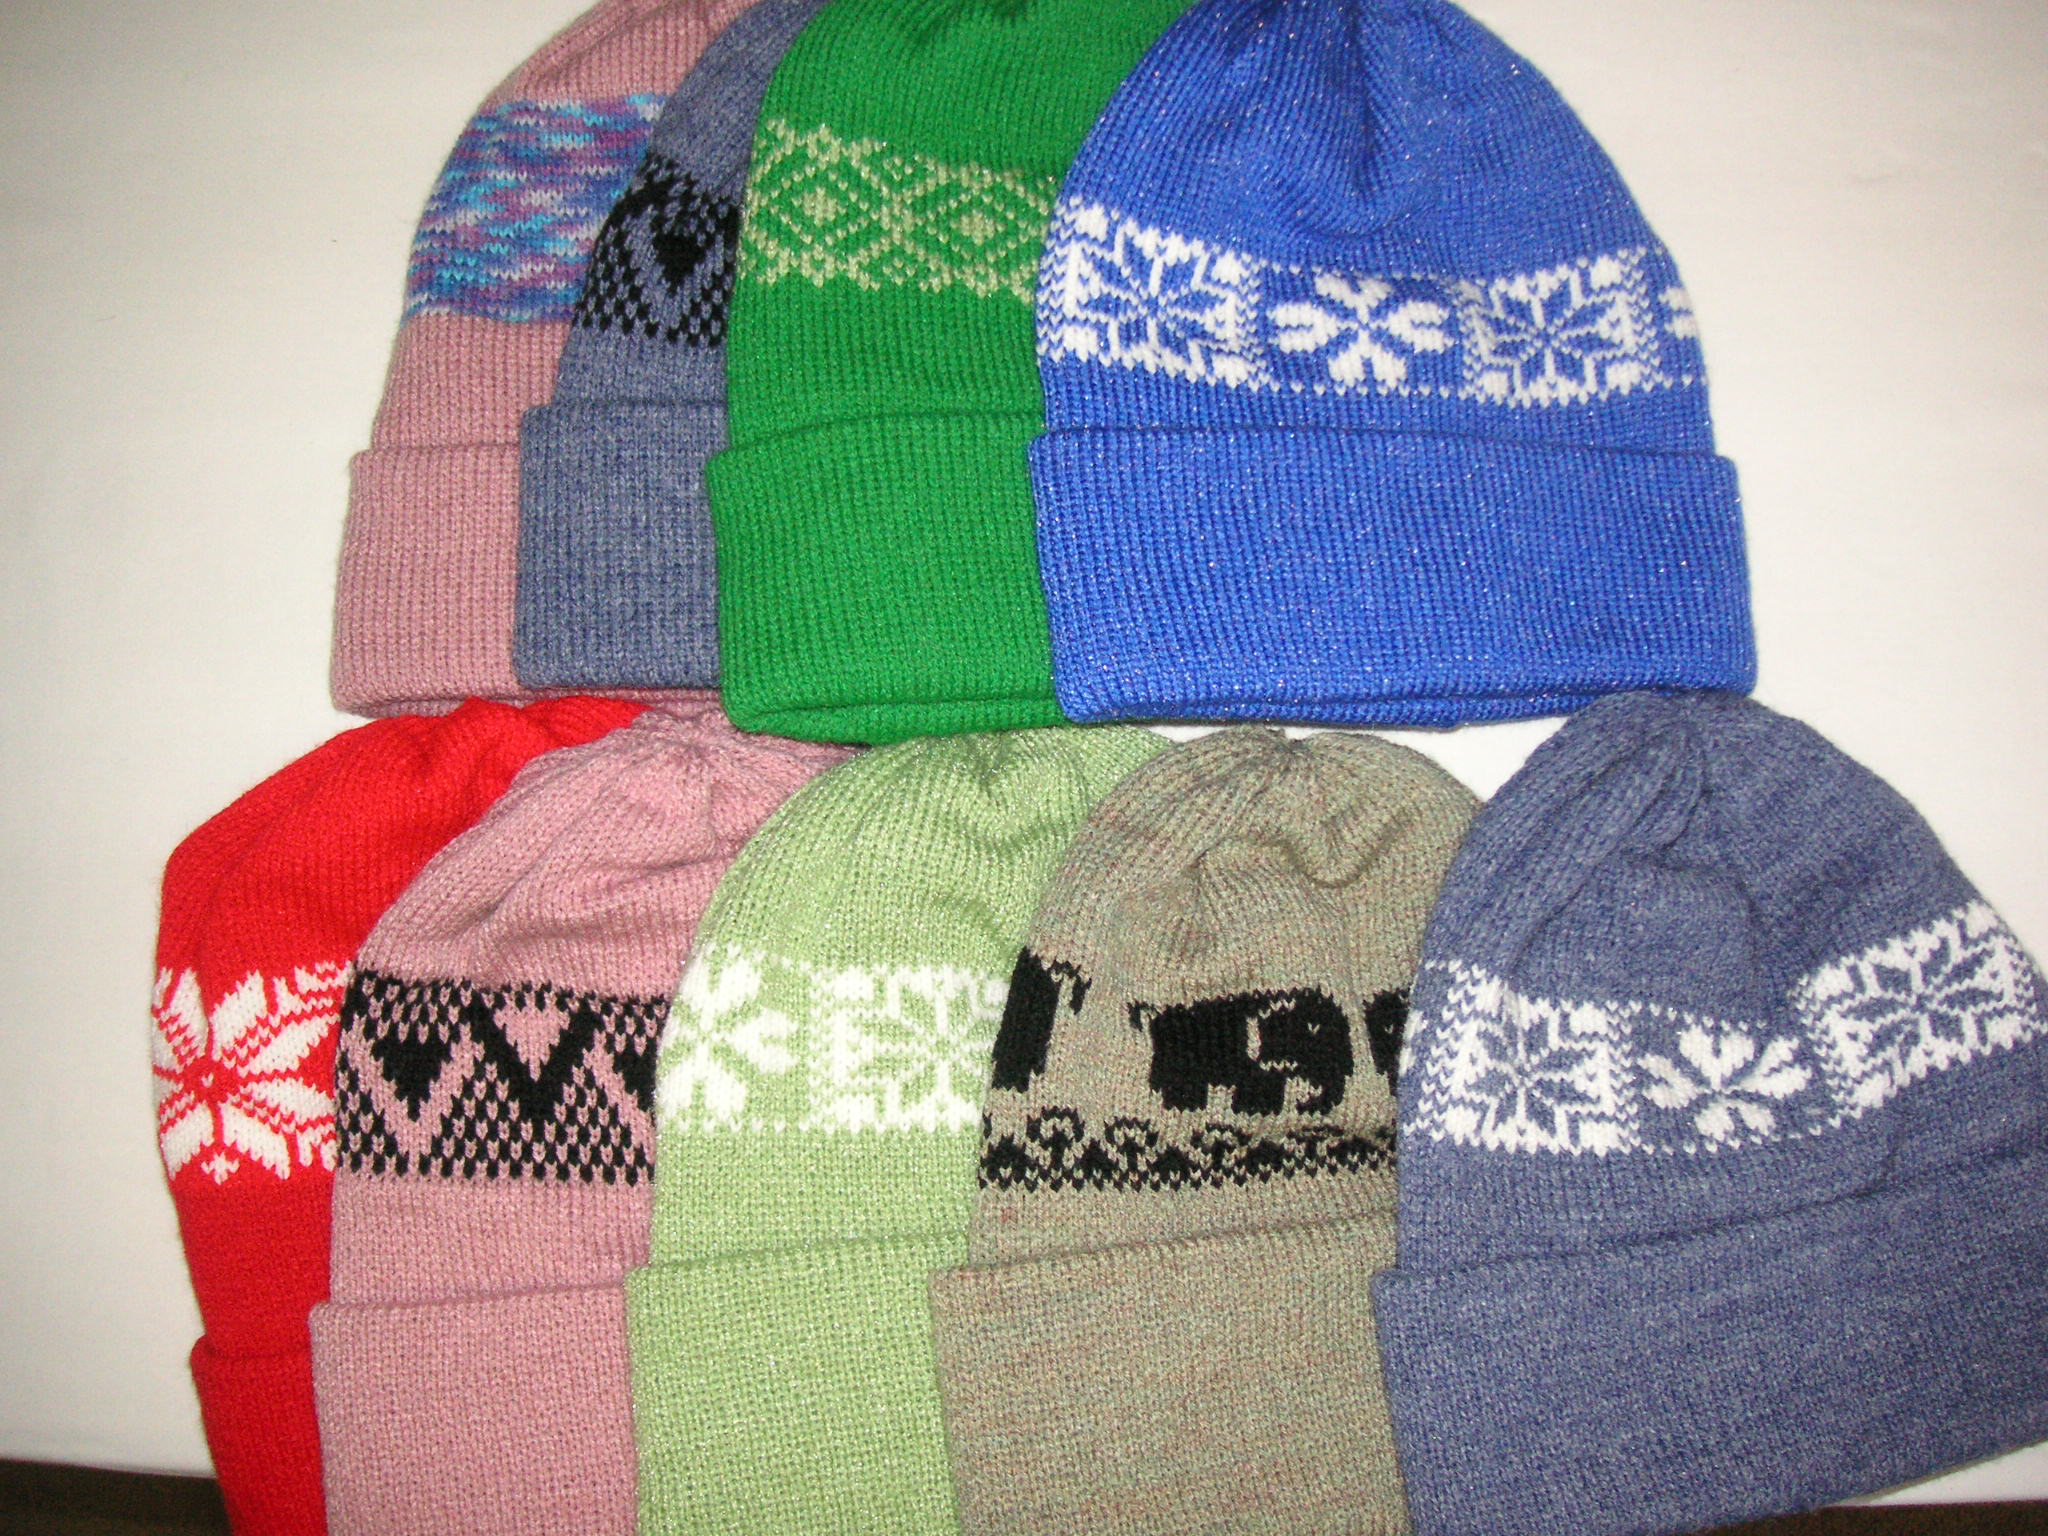
Hello fellow knitters! I know my blog posts have been non-existent…health issues will do that for you. But even in the midst of it all I try to knit a hat for charity once in a while just to keep my brain (and the machine) from turning to mush! 😊 I know you all probably have a favorite hat pattern you use, but I thought I’d share my 10* Minute Hat pattern with you. But I do have to qualify the 10 minutes for several reasons that make it super-fast. These are not my new ideas – but ones I have learned in my years of knitting and I put them together to make this hat very quickly! This method requires the use of a Brother Transfer Carriage. I have no idea if it works on other brands – I am a Brother girl! It took me years to learn to use the Transfer Carriage – it seemed like it only would jam even after following everyone’s instructions. I figured out it all boiled down to the distance between the two beds. You do have to follow the instruction manual, but by adjusting the beds just slightly closer it zips across like butter and transfers stitches in a couple seconds as opposed to several minutes of hand transferring each stitch. It is a jewel once it works! Although it certainly is possible to transfer the stitches by hand! Another time saver is that I use a pattern where the hat is mostly ribbed. Since I am knitting for charity and I have no idea how big someone’s head is or even what gender they are – this hats fits everyone! But to speed up the process even more I only use the ribber connecting arm for the whole process – even though part of this hat is knit in stockinette stitches, I never change the sinker plate at all. I will give further instructions for that technique in the pattern. I do also knit with a motor – but even though that sounds like it would be faster than pushing the carriage by hand – it is not. It just bears the brunt of the hard work that I cannot do anymore. I could actually push the carriage by hand faster than I have my motor set for! I also begin my ribbed hats with the Broken Toe Cast on. I have seen so many convoluted cast on’s for double beds that are time consuming and do not produce a better result. See Diana Sullivans video on how to do the Broken Toe Cast-On. When I remove the hat from the machine and pull that cast on yarn up so the stiches all lie flat and in order, I give it a quick shot of steam and let it dry before removing the yarn from the cast on. I then have a quick, beautiful edge that is not wiggly and wonky as some ribbed edges can be – but it lies flat and holds its shape well. Another time saver I utilize when I am transferring stitches over, to reduce bulk at the top of the hat, is to set my machine to knit a lace pattern that transfers every other stitch over one needle. They can certainly be hand transferred, but this is really fast! I use 2 strands of 2/24 yarn for this pattern. In my large stash of 2/24 yarns, I really do not have 2 cones that are the same color. I would have to rewind and make a second ball to have enough of the same color. So, I began experimenting with putting 2 colors of cones together. I dislike the result if the colors are too different like using a yarn from 2 different color families. But when I began to pair 2 colors that were in the same color family but different tones or shades, I got rich looking textured fabric that is much more interesting that just a solid color. I have a yarn twister that I could use to twist the 2 colors together so they do not pool in a strange way – but that is just another step and a time killer for me. I set one cone on the floor and run the yarn up through a hole in a board that sits behind my machine. I thread that yarn end on a large upholstery needle and run up through the bottom of the cone on top, setting the cone over the hole. Then I thread the machine with the doubled yarn as one. The weird color pooling stopped and I get rich, interesting colors for my hats! I will post a few photos below of some of the color choices. I wish I had photos of several hats I have already given away – the color combos were especially nice…but no photos.
*So those are the tricks I use to knit a hat in 10 minutes or under. Each one is not that big of a deal – but all together it makes for a 10 minute hat! I hope you will try some of them if they happen to be new techniques to you – although I know some require certain tools. Since I make hundreds of these hats for charity – these steps add up to be a real time saver for me! I will post the pattern in the pattern section above.