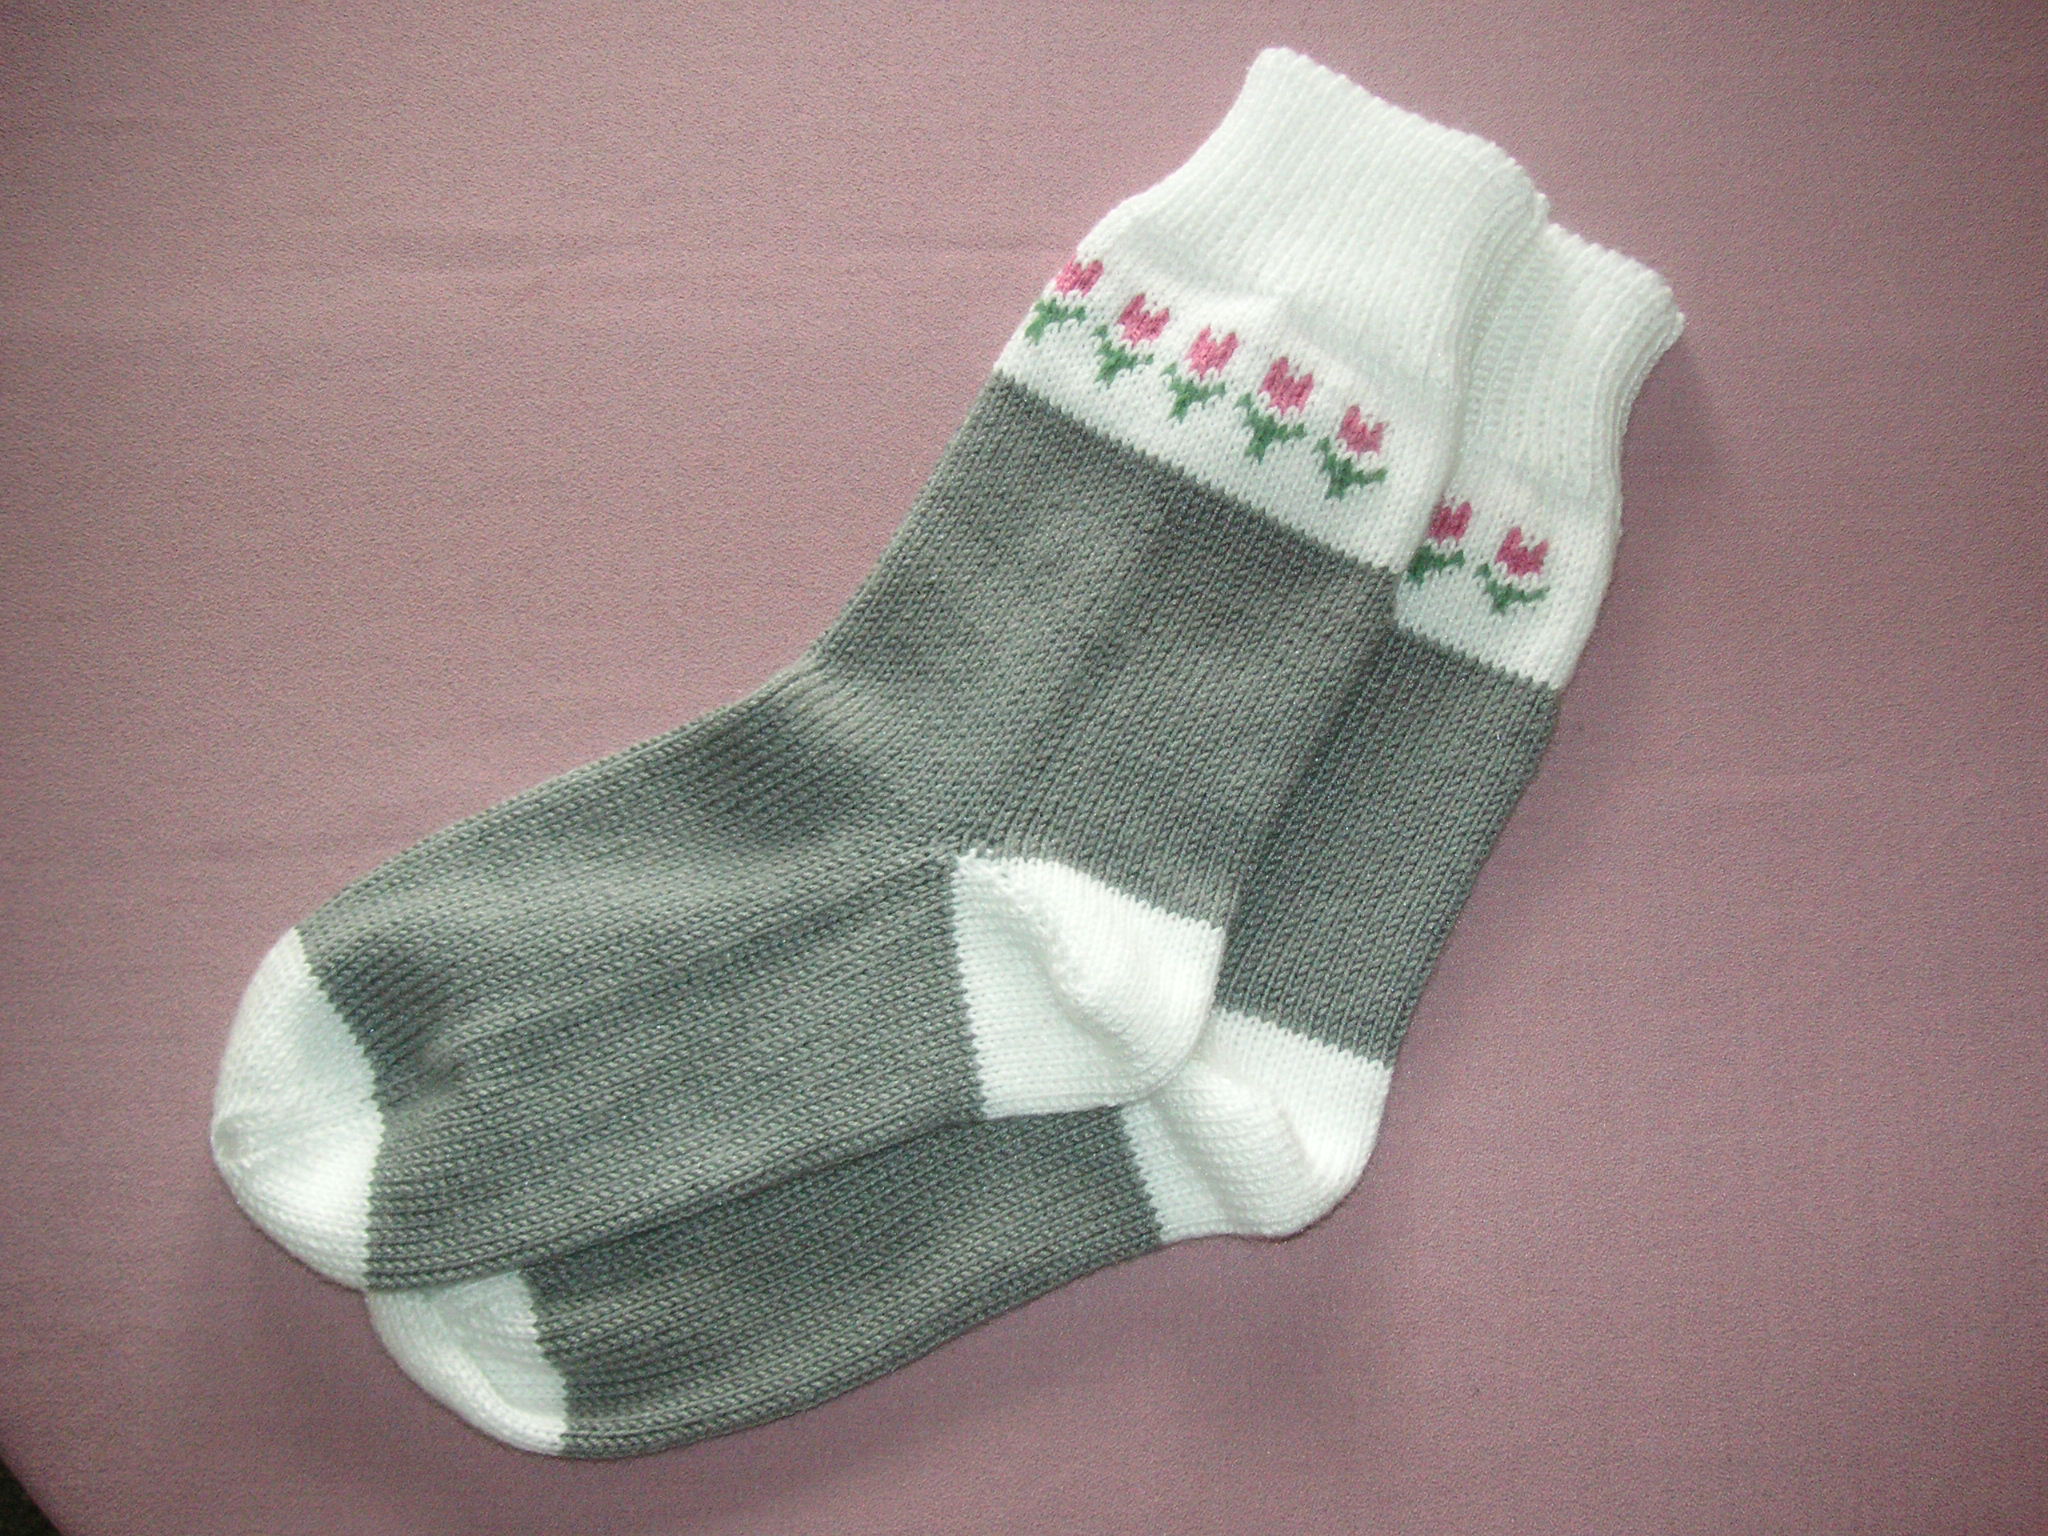
Fair Isle Band Socks – Women’s size 6 (7 or 8)
Ann Huppert
- Machine: standard with ribber
- I used my design at bottom of pattern – any fair isle pattern would work
- Yarn: Yarn Bee Spinesse (Hobby Lobby) – 1 grey and 1 white; 3.5 oz balls – rewound into center pull balls; scraps of similar weight yarn – green and pink for fair isle colors
- Tension: T 3 rib; T 6 body of sock
- Sizes: Women’s size 6 (7, 8)
- Body after Fair Isle is K circular (no side seams) with ribber, pitch P5
- T: 0 – white yarn; Cast on 67 (33L X 34R main bed) (34L x 33R on ribber) –Left end most N on ribber in 1 X 1 zig zag row by knitting 1 row to L
- Hang ribber comb and weights; broken toe cast on
- K 1 circular row – (Right PR button on ribber up and L part button pushed in)
- Remove circular settings
- T3/3. Knit 20 rows of ribbing for sport socks – (add length here if desired)
- Move all st to main bed – Double end MB N with the left most ribber N; change to main bed sinker plate
- K 4 R white
- Set my pattern in machine: #943; (Disk #32 in box); design upside down; Selector 2 – choose 10 repeats sideways
- Cut 2 pieces of white yarn to run up the side of fair isle
- KC 2; Turn mark; K 1 R; Add yarn pieces to first N on both sides
- RC 000
- Top MC button in; add pink yarn
- K 4; moving yarn pieces up sides each R
- Change to green yarn; K 4 R, moving yarn pieces up sides (design is 8 R’s total)
- Remove patterning and cut green yarn
- With white yarn. K 4 R
- Change to waste yarn (WY) and K several rows and remove from machine
- Ribber pitch to H; ribber sinker plate
- Put N’s each bed to working position – 17 L & 17 R on main bed and on ribber 17L X 16 R
- Wrong side of knitting facing me and WY to back, (not in center of sock) start on R center needle by placing L most loop of sock onto that N. Roll rib into a circle and place what was the R most loop onto L center needle and put loops onto main bed to fill the whole 34 St. (Center seam of rib will be back of sock) Reach under ribber and hang 2 or 3 weights on back of the sock
- Push knitting in between beds as you pull ribber halfway up
- Weight the front of ribbing with 2 or 3 claw weights
- Working your way along ribber bed put remaining 33 loops onto ribber N
- Pull ribber up into place pushing the knitting down between beds and tugging knitting down from below
- Circular settings on (Right PR button on ribber up and L part button pushed in)
- RC000; change to grey yarn
- T 6/6
- K 74 more R on row counter (37 circular); (84 RC for taller socks – 43 circular); Add length here if desired
- Keep constant downward pressure by tugging the knitting and weights every couple rows
- Drop ribber half-way down; change sinker plates
- Catch grey yarn off to side and add white in for heel
- Set MB carr to Hold and remove circular knitting setting on MB carr
- T 5
- Short row down to 18 N (8 N in Hold on each side)
- Keep constant weight/pressure on the back part of sock as you short row. (N on main bed are growing and N on ribber are not being worked)
- Short row back out till all N are in working position – moving weights up as you go onto the heel
- FILL HOLES by picking up back loop from ribber end st and hanging on end st on main bed
- Move weights behind heel up
- Remove white yarn and pick up grey again
- Change sinker plate back to the ribber one and raise ribber all the way up
- Set main carriage back to circular knitting setting
- T 6/6; Remove Hold setting
- Reset counter to 000
- K foot – (Size 6 – 44 circular rows – 88 on RC) (Size 7 – 95/100 on RC; Size 8 – 106 on RC) Add length here if desired
- Break grey yarn and change to white yarn again
- Use double transfer tool and dec 1 st both ends on both beds. (pick up 2 st, move 1 space in – 1 empty N pushed out of work and end N has 1 st and 2nd N in has 2 St on it) (Full fashion dec)
- K 2 circular rows (4 rows on counter)
- Repeat this decrease/ K 2 circular rows – 5 times total
- Repeat this same dec, but k 1 circular row – 6 times
- 12 stitches remain on main bed and 11 on ribber
- Break main yarn (MY) and leave a long enough tail to Kitchener stitch toe
- Thread waste yarn (WY); K several rows and remove from machine
- Kitchener st toe and mattress or Bickford stitch back seam, weave in ends
Pattern for Fair Isle is a 6 st by 8 row pattern: Insert into machine or make a punch card
- row 8 oxoxoo
- row 7 oxxxoo
- row 6 oxxxoo
- row 5 ooxooo
- row 4 xoooxo
- row 3 oxxxoo
- row 2 ooxooo
- row 1 ooxooo
You may copy, print and use any of the info on my blog. Please do not copy and repost anywhere on the internet without contacting me to get my permission. Please do not sell this pattern as your own. Thank you, Ann
